Solana NFT Fuzzing 1/2
At Magic Eden, one of the things that keeps me awake at night is the possibility that someone found a way to attack our infrastructure using NFT metadata.
Our backend is comprised of many different services, dedicated to the
consolidation of account data, indexing of mints, and the real-time statistical
analysis of trading. Our platform is interesting to me because we barely run a
CRUD application; all create, update, and delete operations happen
“elsewhere,” and reads are for public activities anyway.
Therefore, our security concerns are slightly different compared to most other industries. The entrypoint for much of the data that makes it into our backend actually starts in the backend itself - as we index blockchain data. There is nothing equivalent to a WAF in this case (not really, anyway), we must assess the maliciousness of each object as we parse it in our backend applications. The attack surface is admittedly huge, and increasingly difficult to secure with our small team and big product backlog.
Part 1 of this series will cover how to set up an NFT collection for the purposes of assessing the backend and frontend security of NFT marketplaces, and adjacent projects.
Part 2 will focus on the attacks themselves and mitigations.
Environment Setup
Copy paste these commands, it will extract solana in your home directory.
cd ~/
wget https://github.com/solana-labs/solana/releases/download/v1.10.35/solana-release-x86_64-unknown-linux-gnu.tar.bz2 -O solana-v1.10.35.tar.bz2
tar xf solana-v1.10.35.tar.bz2
Ensure you have a solana release installed; change the paths in this guide or expand the box for some advice on how to exactly replicate my environment.
This guide assumes you’re operating from a new directory such as
~/mint-example/, and that the solana binary is available at
~/solana-release/bin/solana
Solana releases can be found in Github
You will also need Metaplex’s sugar CLI tool for deploying the smart contract
you’ll use for minting. Source code can be found
here. Sugar replaces the
deprecated metaplex CLI, which is what people used to use to create mints in
Solana.
You can grab the metaplex sugar release directly from Github, or use this handy but insecure shell command:
bash <(curl -sSf https://sugar.metaplex.com/install.sh)
To use the python script below, you can use a virtualenv as depicted in the tooltip. The python script is used to generate the NFT asset metadata, Sugar config, and collection configuration.
This is only required if you want to run the python script below for generating NFT metadata. If you want to copy paste the example configurations, you can ignore this.
python -m venv v
source v/bin/activate
pip install faker
Media Store Setup
In order to create an NFT collection that we can use to maniupulate clients, we need a place for the NFT media assets to live. Create an S3 bucket that can serve files to the public internet.
We’ll use a randomly named bucket, and save it to the $bucket variable in our shell.
Bucket Creation
bucket=$(uuidgen)
aws s3api create-bucket --acl public-read --bucket $bucket
Bucket Policy
Next, create a bucket policy that allows any client to GetObject; note that this is generally an insecure configuration unless you intend to do exactly this - serve assets to the public internet.
aws s3api put-bucket-policy --bucket $bucket --policy '{
  "Version": "2012-10-17",
  "Statement": [
    {
      "Effect": "Allow",
      "Principal": "*",
      "Action": [
        "s3:GetObject"
      ],
      "Resource": "arn:aws:s3:::'${bucket}'/*"
    }
  ]
}'
Bucket CORS Policy
Now, create a CORS configuration which will allow our assets to be included by any website.
aws s3api put-bucket-cors --bucket $bucket --cors-configuration '{
  "CORSRules": [
    {
      "AllowedOrigins": ["*"],
      "AllowedHeaders": ["*"],
      "AllowedMethods": ["GET", "HEAD"],
      "MaxAgeSeconds": 30
    }
  ]
}'
Treasury Wallet
Be sure to back up your solana configuration if you’ve used it before, or have paper wallets.
If you’ve used solana CLI before, and have run set commands, the following
commands will overwrite those settings. You can back your current configuration
up like so:
cp -r ~/.config/solana{,-bak}
If you need to restore, you can do it like this:
rm -rf ~/.config/solana/
mv ~/.config/solana-bak ~/.config/solana
First, point solana CLI at devnet:
~/solana-release/bin/solana config set --url devnet
Next, create a wallet, it’s a good idea to capture the output from this
command somewhere in your notes. (remember, we’re running these commands from
~/mint-example/)
~/solana-release/bin/solana-keygen new --outfile wallet.json --no-bip39-passphrase
set the $wallet env var in your shell for later use:
export wallet=<the value you see in the output for pubkey:>
Make solana CLI use this wallet by default from now on:
~/solana-release/bin/solana config set --keypair $(pwd)/wallet.json
Finally, give this wallet some SOL.
~/solana-release/bin/solana airdrop 2
Be sure to save the wallet address in $wallet
Creating NFT Assets
We aren’t creating art here; well, not really. Our NFTs don’t have to be cool beacuse no one will ever buy them. We do want NFT marketpalces to list our assets though, should we ever find ourselves in posession of a useful exploit.
There are several files that are required for sugar to work:
./config.json./assets/0.json./assets/0.png- etc.
Create a directory called ./assets/,
mkdir -p assets
Creating Metadata
we’ll fill this directory with images in a minute, but first, run this python script in order to generate the metadatas we’ll be using to fuzz clients with.
#!/usr/bin/env python
from faker import Faker
import sys
import json
fake = Faker()
Faker.seed(23590) # change this to whatever you want, or remove it
count = 10
symbol = fake.first_name_nonbinary().upper()
collection_name = fake.company()
bucket = sys.argv[1]
wallet = sys.argv[2]
for i in range(count):
    metadata = {
      "name": f"{fake.pystr()} #{fake.ean(length=8)}",
      "symbol": f"{symbol}",
      "description": f"{fake.paragraph(nb_sentences=1)}",
      "image": f"{i}.png",
      "attributes": [
          {
              "trait_type": "bs",
              "value": fake.bs()
          },
          {
              "trait_type": "Catchphrase",
              "value": fake.catch_phrase()
          }
      ],
      "properties": {
        "files": [
          {
            "uri": f"{i}.png",
            "type": "image/png"
          }
        ]
      }
    }
    with open(f"./assets/{i}.json", "w") as fd:
      fd.write(json.dumps(metadata, indent=4))
    print(f"assets/{i}.json done")

collection = {
  "name": f"{collection_name}",
  "symbol": f"{symbol}",
  "description": f"{fake.catch_phrase()}",
  "image": "collection.png",
  "attributes": [],
  "properties": {
    "files": [
      {
        "uri": "collection.png",
        "type": "image/png"
      }
    ]
  }
}
with open("./assets/collection.json", "w") as fd:
  fd.write(json.dumps(collection, indent=4))
print("assets/collection.json done")
config = {
  "price": 1.0,
  "number": 10,
  "gatekeeper": None,
  "creators": [
    {
      "address": f"{wallet}",
      "share": 100
    }
  ],
  "solTreasuryAccount": f"{wallet}",
  "splTokenAccount": None,
  "splToken": None,
  "goLiveDate": "1 Jan 2020 00:00:00 +0000",
  "endSettings": None,
  "whitelistMintSettings": None,
  "hiddenSettings": None,
  "uploadMethod": "aws",
  "retainAuthority": True,
  "isMutable": True,
  "symbol": f"{symbol}",
  "sellerFeeBasisPoints": 0,
  "awsS3Bucket": f"{bucket}",
  "nftStorageAuthToken": None,
  "shdwStorageAccount": None
}
with open("config.json", "w") as fd:
  fd.write(json.dumps(config, indent=4))
print("config.json done")
Run this script, it will generate all the necessary metadata files.
python generate-metadata.py $bucket $wallet
If you don’t want to run the python script, create a the following jsons manually; be sure to look closely at each file and make changes where necessary.
./assets/1.json
{
    "name": "kcnuqhEwgFRvtYqhIxpa #36774050",
    "symbol": "TODD",
    "description": "Grow church learn election piece culture.",
    "image": "1.png",
    "attributes": [
        {
            "trait_type": "bs",
            "value": "evolve mission-critical networks"
        },
        {
            "trait_type": "Catchphrase",
            "value": "Profound secondary task-force"
        }
    ],
    "properties": {
        "files": [
            {
                "uri": "1.png",
                "type": "image/png"
            }
        ]
    }
}
./assets/collection.json
{
    "name": "Alexander, Gomez and Klein",
    "symbol": "TODD",
    "description": "Centralized 24hour customer loyalty",
    "image": "collection.png",
    "attributes": [],
    "properties": {
        "files": [
            {
                "uri": "collection.png",
                "type": "image/png"
            }
        ]
    }
}
./config.json
{
    "price": 1.0,
    "number": 10,
    "gatekeeper": null,
    "creators": [
        {
            "address": "PUT_YOUR_TREASURY_WALLET_PUBKEY_HERE",
            "share": 100
        }
    ],
    "solTreasuryAccount": "PUT_YOUR_TREASURY_WALLET_PUBKEY_HERE",
    "splTokenAccount": null,
    "splToken": null,
    "goLiveDate": "1 Jan 2020 00:00:00 +0000",
    "endSettings": null,
    "whitelistMintSettings": null,
    "hiddenSettings": null,
    "uploadMethod": "aws",
    "retainAuthority": true,
    "isMutable": true,
    "symbol": "TODD",
    "sellerFeeBasisPoints": 0,
    "awsS3Bucket": "PUT_YOUR_BUCKET_NAME_HERE",
    "nftStorageAuthToken": null,
    "shdwStorageAccount": null
}
Creating Images
Now make some images. I’ll use magick to generate random images, the tool can
be found here, available to all linux
distros, and probably in brew on Macos.
cd assets
for i in {0..10}; do magick -size 1000x1000 xc: -modulate 300,50,50 +noise Random ${i}.png; done
magick -size 1000x1000 xc: -modulate 300,50,50 +noise Random collection.png
cd ../
Finally, sync all assets to S3:
aws s3 sync assets/ s3://${bucket}/
Sugar
After all this, you’re ready to run sugar, which will do all the legwork for
making your NFTs tradeable.
sugar launch
Now your assets are uploaded, visible on solana.fm, solscan, etc, and ready to be minted. For example, create a phantom wallet on devnet and mint the tokens to it:
sugar mint --receiver $phantom_wallet --number 2
You can see the tokens in the wallet

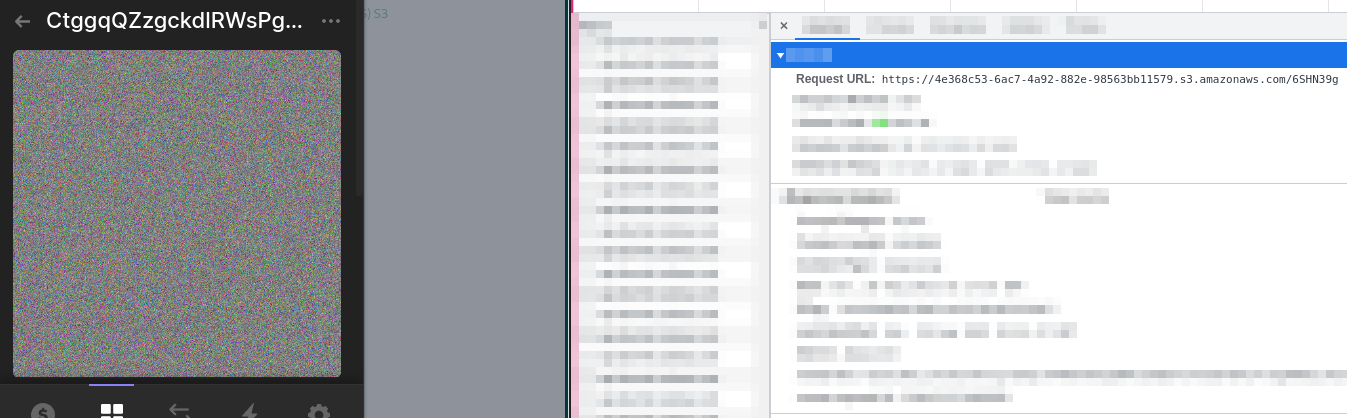
viewing an asset (which must be done in order to send it to the trash) triggers an HTTP call directly to the NFT asset. This creates an HTTP access log which can be used to track the user of the wallet’s behavior. If they burn the NFT you sent them, send another to an active wallet.
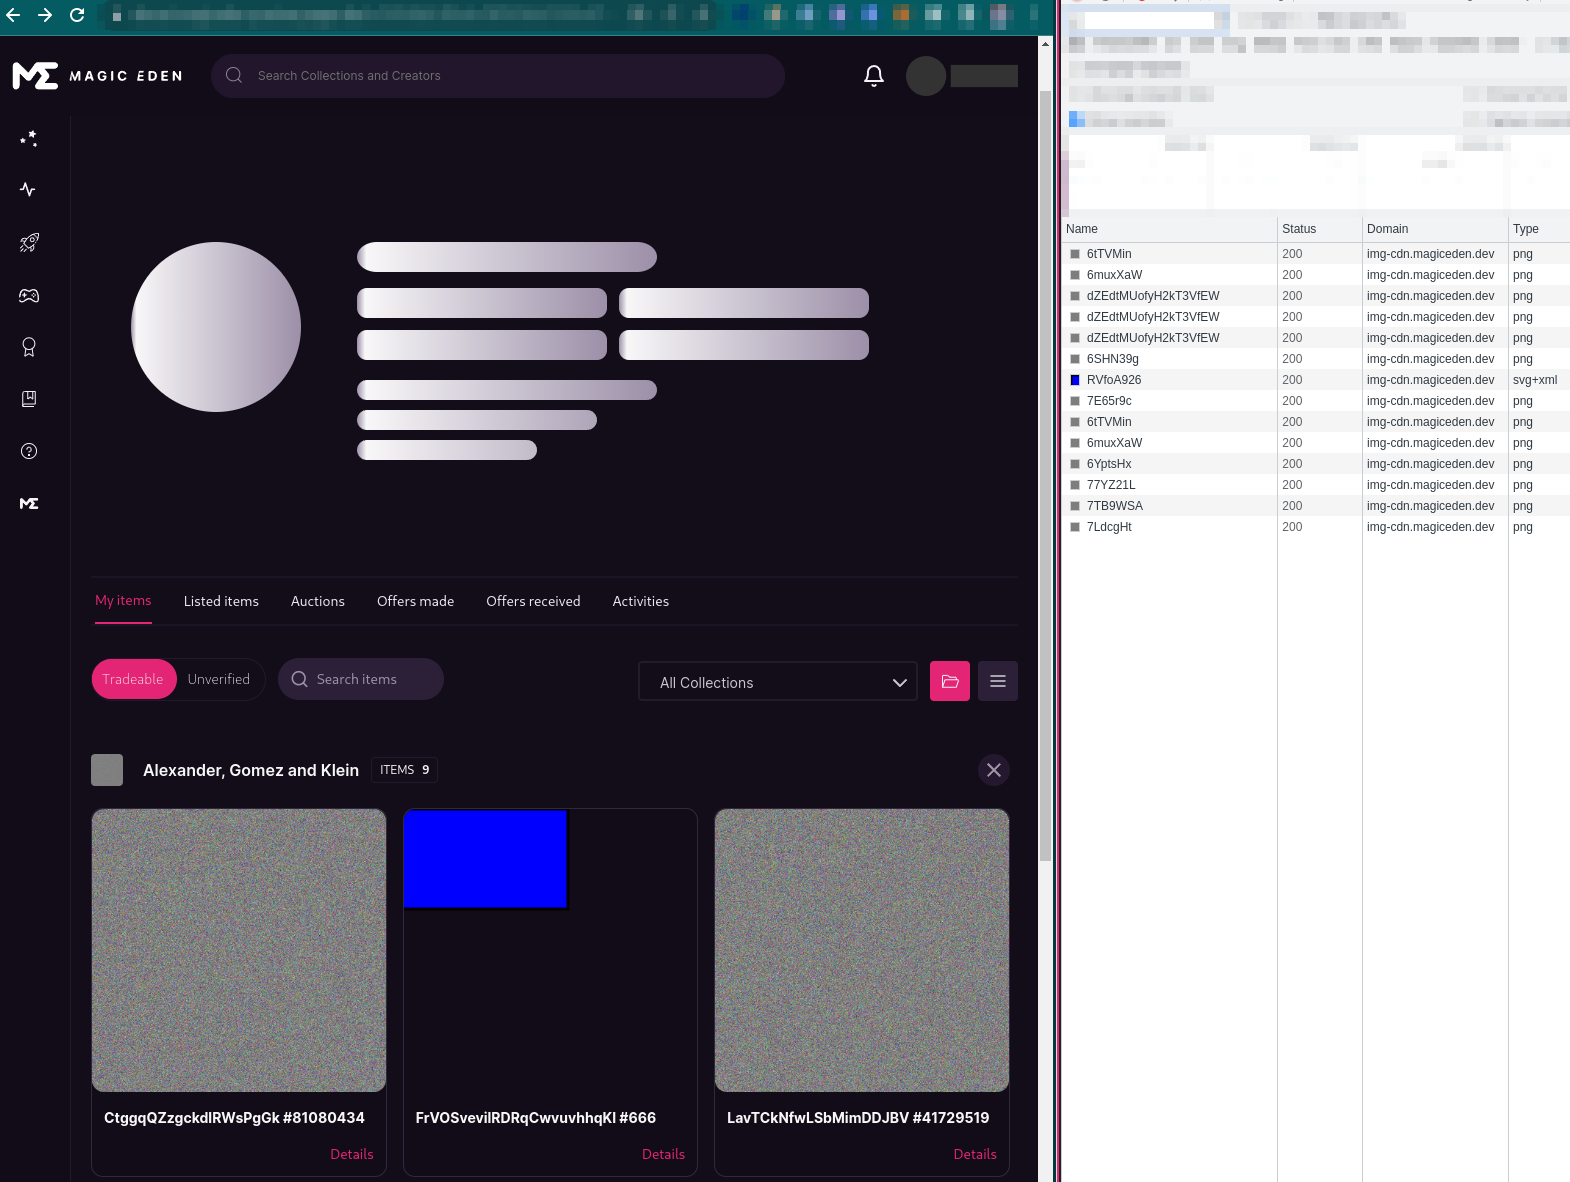
You can also view the mints on Magic Eden, by going directly to the devnet wallet (in devnet mode)
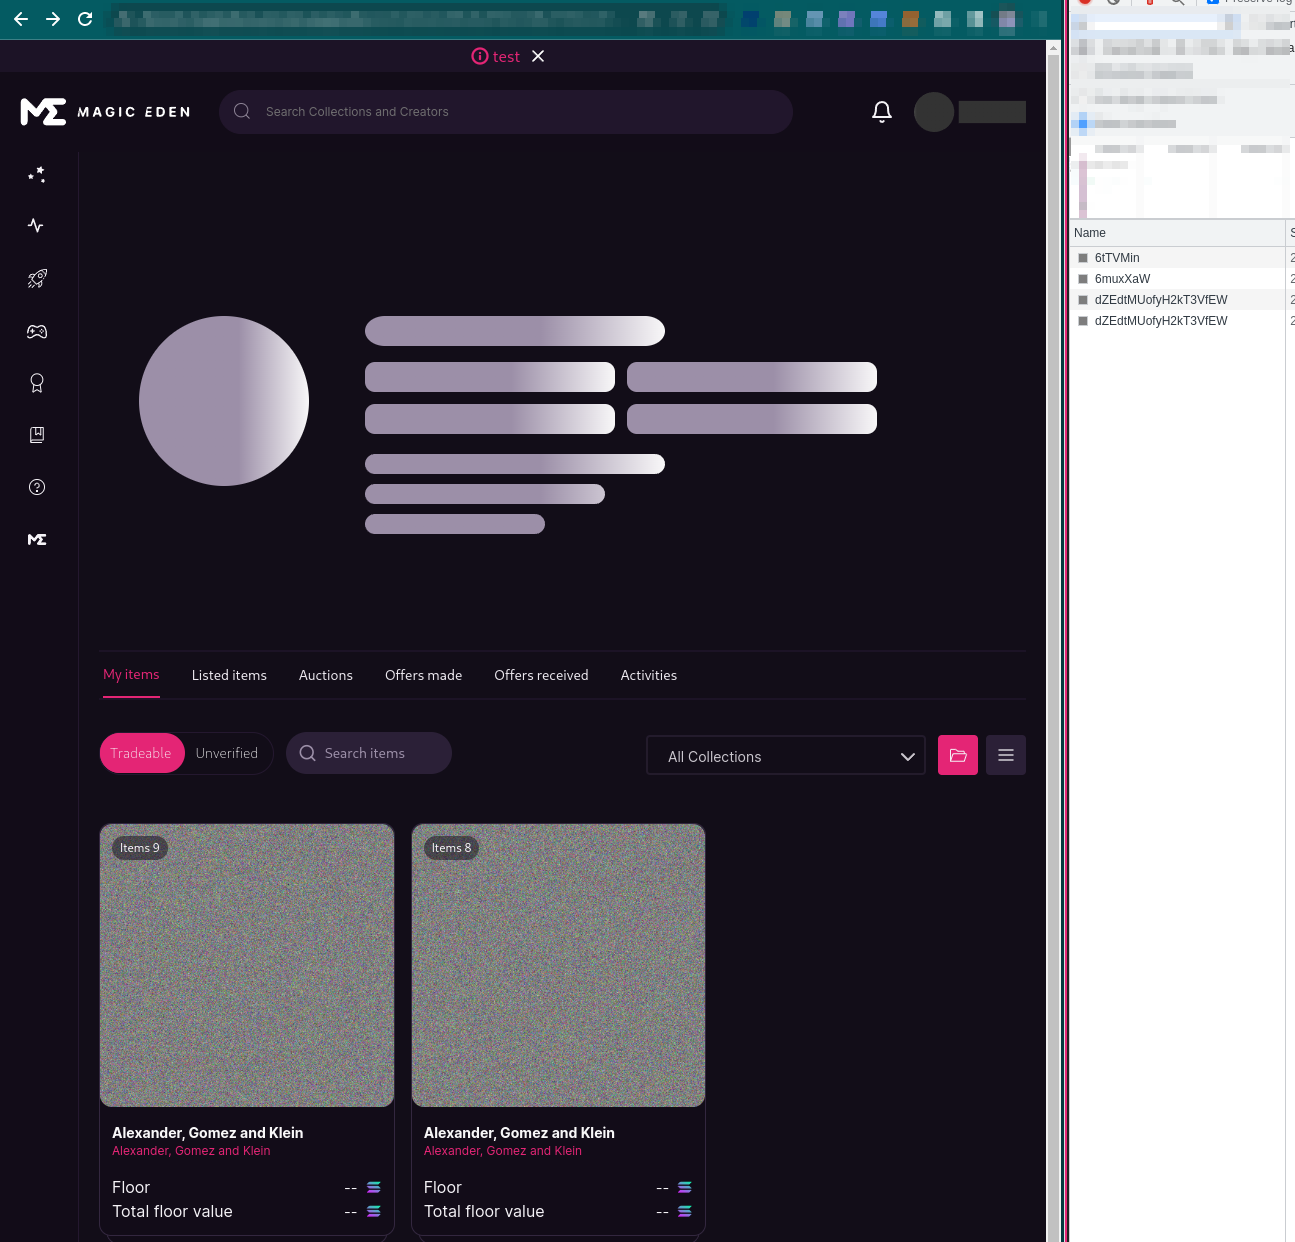
Unfortunately (or fortunately) Magic Eden’s image proxy will obfuscate the viewer’s IP address, but it is possible to work around that by making the webserver artifically slow, which will be covered in the next post.
Where to Go From Here
Next post will follow up on:
- XSS vectors
- DoS vectors
- Code injection via metadata fields
- Canary tokens
- Attacking web3 infrastructure clients
Thanks for reading!